
Last updated November 17, 2026
 Shaker
 Modern flat-panel
 Two-tone cabinets
 KraftMaid
 Cambria quartz
 Butcher block
 Open shelving
Free design consultation - KraftMaid and Wellborn cabinet lines, Cambria and Silestone surfaces, and every tier from refacing to full custom laid out side by side
Kitchen Remodeling Maintenance Checklist for Enterprise Homeowners
Quartz countertops are sold as nearly maintenance-free, and for everyday spills that’s true. The one thing that actually degrades them, and can void most manufacturer warranties, costs nothing to avoid: leaving acidic cleaners and standing water on the surface. A quality kitchen remodel in Enterprise is a five-figure investment in materials that each carry their own care instructions. Cabinets, quartz, sinks, hardware, and ventilation all age on different clocks. This guide turns those material-specific rules into a practical yearly schedule so your kitchen holds up through dry desert summers and mild winters instead of quietly wearing out behind the cabinet doors.
Styles & brands we work with
- Shaker
- Modern flat-panel
- Two-tone cabinets
- KraftMaid
- Cambria quartz
- Butcher block
- Open shelving
Quick Answer
A kitchen remodel maintenance checklist for Enterprise homeowners covers six jobs: re-torquing cabinet hardware and re-calibrating soft-close hinges every six months, cleaning quartz with pH-neutral products only, inspecting backsplash caulk and grout seams before each seasonal swing, checking under-sink plumbing quarterly for slow leaks, clearing range hood filters and refrigerator coils against desert dust, and confirming that all work was installed to the manufacturer’s specification so warranties stay intact. Most of these checks take under an hour and prevent the failures that show up as swollen cabinet boxes, clouded counters, and doors that no longer close flush.
Table of Contents
- Why a Materials-First Maintenance Schedule Matters in Enterprise
- Cabinets and Hardware: The Six-Month Recalibration
- Quartz Countertop Care: What to Clean With and What to Avoid
- Backsplash Caulk and Grout: Reading Enterprise’s Thermal Cycling
- Under-Sink Plumbing: Catching Leaks Before They Reach the Cabinet Box
- Range Hoods and Refrigerator Coils in a High-Dust Desert
- The Annual Checklist: Month by Month
- Common Mistakes to Avoid
- When to Call a Professional
- Frequently Asked Questions
Why a Materials-First Maintenance Schedule Matters in Enterprise
Enterprise sits in a desert valley where summer highs push past 100 degrees and winter days stay mild enough to open the windows. That swing sounds gentle compared to places with hard freezes, but it still moves materials. Wood cabinet frames expand and contract with indoor humidity that drops when the air conditioning runs hard in July and rises again in the cooler months. Caulk lines at the backsplash flex with the same rhythm. Quartz, which is engineered to be stable, doesn’t move much at all, and that mismatch is exactly why the seam between a rigid countertop and a moving wall needs inspection rather than trust.
The other Enterprise-specific factor is dust. Desert air carries fine particulate that settles on every horizontal surface, and it finds its way into refrigerator coils, range hood filters, and the gaps around cabinet doors. Left alone, that dust reduces appliance efficiency and turns into a grit that works against drawer glides and hinge joints. A maintenance schedule written for a humid climate misses this entirely.
Here’s the part most homeowners don’t hear: the care instructions that come with premium materials aren’t suggestions. Cambria’s lifetime warranty, the warranty terms on KraftMaid and Wellborn cabinetry, and the coverage on Kohler, Moen, and Blanco fixtures all assume the product was installed and maintained as the manufacturer specifies. Skip the cleaning rules and the hardware adjustments, and a claim that should be straightforward can become a conversation about misuse. Knowing these products by name because we install them every day is part of why we write checklists like this one. Your kitchen is too permanent to guess on materials, and it’s too expensive to ignore the care schedule that keeps them covered.
Cabinets and Hardware: The Six-Month Recalibration
Soft-close hinges and drawer glides are the most-used moving parts in a kitchen, and nearly all of them need a re-calibration within the first six months after installation as the cabinet frames settle into their final position. A hinge that was perfectly aligned on install day can drift a millimeter or two once the full weight of doors and the normal cycle of humidity changes work through the frames. Left unchecked, that drift shows up as doors that don’t sit flush, gaps that open at the top or bottom, and a soft-close mechanism that stops catching before the door is fully closed.
What a six-month check involves:
- Open and close every door and drawer slowly, listening for a soft-close mechanism that grabs late or not at all.
- Check that door fronts align with the cabinet face; a shadow line that varies from top to bottom means the hinge needs a turn of its adjustment screw.
- Feel each hinge plate where it attaches to the frame; a loose screw here is the early warning of a door sagging over time.
- Test drawer glides by pulling them fully open and closing them partway; they should travel smoothly without a grinding feel from grit.
- Wipe the hinge and glide surfaces with a dry microfiber cloth to clear the fine dust that settles into the joints.
KraftMaid’s dovetail drawer boxes and Wellborn’s construction are built to take decades of use, but the hardware is still mechanical and still needs adjustment. This is also the moment to check cabinet hardware like pulls and knobs for torque. A screwdriver turn on each fastener keeps pulls from loosening and wallowing out the mounting holes, which is a repair that’s much harder to reverse than it is to prevent.
If you’re planning a fresh install rather than maintaining an existing kitchen, the same logic applies from day one. Our cabinet installation work is set to each manufacturer’s tolerances precisely so that the first six months of settling are predictable rather than a surprise.
Quartz Countertop Care: What to Clean With and What to Avoid
Engineered quartz is non-porous, so it doesn’t need sealing the way natural stone does. What it does need is protection from the cleaners that cause micro-etching on the surface. The rule is simple: use pH-neutral products, and nothing else. Acidic cleaners, heavy-duty degreasers, bleach-based sprays, and abrasive pads all dull the finish over time. On a Cambria or Caesarstone surface, that dulling is permanent. It’s not a stain you can lift. Repolishing quartz in place is a specialist job, and the cost of prevention is one bottle of the right cleaner.
Here’s the surface-by-surface schedule:
- Quartz (Cambria, Silestone, Caesarstone): daily wipe with a damp cloth and mild soap; no sealing required, ever. Silestone’s bacteriostatic properties are built into the surface, so harsh disinfectants aren’t needed and shouldn’t be used.
- Natural stone, if you have it: seal according to the fabricator’s instructions, typically once a year for porous stones, and never with the same cleaner used on quartz.
- Grout at the backsplash: different product, different care. Use a grout-appropriate cleaner, not the quartz spray.
What about heat and knives? Quartz handles heat better than laminate but is not a trivet. A hot pan set directly on the surface can cause thermal shock and discoloration that isn’t covered by warranty. Always use a cutting board; quartz is hard enough to dull a knife edge quickly and to show fine scratches from repeated direct cutting.
If you’re choosing surfaces now, choose the one that fits your kitchen and your life rather than assuming all quartz behaves the same. Cambria’s US manufacture and lifetime warranty, Silestone’s mineral enhancement, and Caesarstone’s position as an original quartz producer all come with slightly different care terms. Our kitchen remodeling team walks you through those differences before you commit, because the cleaner you use for the next twenty years depends on the brand you pick today.
Backsplash Caulk and Grout: Reading Enterprise’s Thermal Cycling
The seam where your countertop meets the backsplash is a joint between two materials that move differently. Quartz is dimensionally stable. The wall behind it, and the cabinets below, are not. In Enterprise, the wide seasonal temperature range and the dry-then-moist indoor humidity swing from summer cooling to winter heating push that seam back and forth, and caulk is the flexible material designed to absorb that movement. When it fails, it usually fails quietly. A hairline gap opens, water finds it, and the drywall behind the backsplash starts to take on moisture before anything is visible inside the kitchen.
Inspect these points twice a year, once before summer and once before winter:
- Run a finger along the caulk line at the base of the backsplash. Any gap, crack, or place where the caulk pulls away from the counter or the wall is a fail.
- Check the inside corners where backsplash sections meet. Corners are the first place caulk separates.
- Look at grout lines between tiles for cracks, missing grout, or darkened areas that suggest moisture has gotten behind the surface.
- Check the caulk around the sink cutout on the countertop, which sees the most water and the most movement.
- Press gently on the backsplash near the seam; any give or hollow sound means the adhesion behind it deserves a closer look.
If a caulk line has failed, it should be cut out and replaced rather than smeared over. A patch that traps moisture under new caulk is worse than a clean, honest gap you can see. In our experience, most Enterprise kitchens need a caulk refresh long before the grout itself needs attention, and catching it early keeps the repair a small cosmetic job rather than a rebuild behind the backsplash.
Under-Sink Plumbing: Catching Leaks Before They Reach the Cabinet Box
The cabinet under your kitchen sink holds plumbing, cleaning supplies, and more moisture than any other cabinet in the house. Slow leaks there are patient. A drip from a supply line, a loose drain fitting, or a tired P-trap can run for months without pooling on the floor, wicking instead into the cabinet base and back panel. Check this area quarterly, and check it thoughtfully.
Why the cabinet material matters here: a plywood box handles occasional moisture differently than a particleboard box. Plywood can get damp and dry out with far less permanent damage. Particleboard swells when it gets wet, and once it swells it doesn’t go back, so a small leak under a particleboard cabinet turns into a soft, crumbling base panel that has to be replaced. If you’ve chosen KraftMaid or Wellborn cabinetry, you’ve bought construction that holds up better, and a quarterly inspection protects that investment.
The quarterly under-sink check, step by step:
- Dry every surface under the sink with a paper towel, including the cabinet floor and the back panel.
- Run the faucet, then the sprayer, then fill the sink and drain it while watching every joint for moisture.
- Feel the supply lines where they connect to the shutoff valves, and the shutoffs themselves.
- Look at the drain and P-trap fittings for mineral crust or a single drip forming.
- Check the cabinet base for soft spots, warping, or a smell that suggests ongoing moisture.
- Clear clutter so that the next inspection, and any future repair, can actually see the plumbing.
This is the single highest-value fifteen minutes in the whole checklist. A slow leak found early is a wrench turn. Found late, it’s a cabinet base, drywall, and possibly flooring.
Range Hoods and Refrigerator Coils in a High-Dust Desert
Enterprise’s dust gets into everything, and the two kitchen appliances that suffer most are the range hood and the refrigerator. Both rely on air moving across a surface, and both lose efficiency when that surface is coated in fine desert particulate.
Range hood maintenance. Cooking grease and dust combine into a sticky film that coats the hood’s filters and reduces how much air the fan can move. That matters in a desert kitchen where you also cook with the windows closed against the summer heat. Check the filter monthly and clean it according to the hood manufacturer’s instructions, usually a degreasing soak in hot water and a mild dish soap. Wipe the visible hood surfaces with the same pH-neutral care you give your quartz, and listen for a fan that’s getting louder or straining, which often points to a clogged filter or a fan blade coated in grease.
Refrigerator coil maintenance. Coils on the bottom or back of the refrigerator collect dust, and in a dusty climate that layer builds fast. A coil that can’t shed heat makes the compressor work harder, which shows up in higher energy use and faster wear. Every three to six months, unplug the refrigerator, pull it away from the wall, and vacuum the coils with a brush attachment. If your model has bottom coils behind a grille, remove the grille first and reach the coil carefully. What to check is simple: if the coil looks fuzzy with dust, it’s overdue.
While you’re behind the fridge, check the water line to the ice maker and any dispenser connections for drips, hard water crust, or a kinked line. If you think about all your ventilation and appliance care as one category, it gets done. If you think of it appliance by appliance, it’s easy to skip a season.
For basic daily care around the sink, our guide to Kitchen Remodeling Enterprise covers the fixtures and sink brands we work with, and the ongoing maintenance of that sink is part of the material schedule this page describes.
The Annual Checklist: Month by Month
Here’s the whole schedule in one place so you can print it, put it on the fridge, and work through it on a rhythm that matches Enterprise’s seasons. None of these tasks is large. Together they’re what keeps a quality kitchen from quietly becoming a list of small problems.
Every quarter:
- Dry and inspect under the sink; watch for slow leaks and soft cabinet spots.
- Vacuum the refrigerator coils and check the ice maker water line.
- Wipe down cabinet hardware and re-tighten any loose pulls or knobs.
Every six months:
- Re-calibrate soft-close hinges and drawer glides on every cabinet door and drawer.
- Clean the range hood filter and inspect the fan.
- Inspect caulk lines at the backsplash and around the sink cutout.
- Check grout joints for cracks or missing grout.
Every twelve months:
- Review the care instructions for each quartz brand in your kitchen and confirm your cleaning products still match (no acidic or abrasive cleaners).
- Touch up any failing caulk before the seasonal temperature swing pushes it further.
- Check supply line and shutoff valve condition for corrosion or hardness.
If you’re building a new kitchen, bookmark this schedule for day one. Our Winchester area homeowners get the same checklist from us after every kitchen we complete, because a schedule that starts at installation is the one that actually gets followed.
Common Mistakes to Avoid
- Using the wrong cleaner on quartz. Acidic and abrasive products cause micro-etching that no cleaning will reverse. Keep a dedicated pH-neutral spray and nothing else on the counter.
- Assuming soft-close hardware never needs adjustment. Hinges and glides need re-calibration as cabinet frames settle in the first six months, and again as the dry summer humidity drops. A door that feels fine in spring may not close flush in August.
- Ignoring the caulk at the backsplash. In Enterprise, the seasonal push and pull at that seam is real, and the first sign of failure is a gap nobody notices until water is already behind the tile.
- Treating cabinet box material as an afterthought. Plywood and particleboard handle a small under-sink leak very differently. Knowing what your cabinets are made of tells you how much margin you have.
- Skipping the range hood filter. In a desert kitchen, dust and grease combine faster than in a humid climate, and the filter is the first thing to clog. A struggling hood degrades the whole kitchen’s air quality.
- Vacuuming the refrigerator coils only when it stops working. Coils need dust removal every three to six months in this climate. Waiting for an efficiency drop means the compressor has already been working harder than it should.
- Assuming the warranty covers wear from misuse. Manufacturer warranties on cabinetry, quartz, and fixtures are strong, but they assume the product was installed and maintained per specification. Keep your cleaning products and your maintenance records in line with the terms.
When to Call a Professional
Most of the checklist above is homeowner work. The line to call a professional is where the task moves from a screwdriver and a spray bottle into something that can damage a premium material or point to a failing installation. Call a professional if a quartz surface has cloudy patches or scratches that don’t come out with a neutral cleaner, if a hinge has failed and the door is sagging or rubbing, if you find moisture behind the backsplash or a soft cabinet panel under the sink, if a shutoff valve is seized or leaking, if your range hood fan is straining after a filter clean, or if any of the installation looks out of line with the manufacturer’s specification. These are the moments when the wrong fix costs more than the right one.
Kitchen Remodeling Enterprise offers free estimates in Enterprise and works only on kitchens, cabinets, countertops, and the full remodel. If you want a professional eye on what your kitchen needs next, call (833) 522-7502. We answer 24/7. Fast dispatch from 7am to 7pm, Sunday through Friday.
Frequently Asked Questions
Every six months as a baseline, with the first check at the six-month mark after installation when cabinet frames have finished settling. Adjusting hinges and glides is a simple matter of turning the adjustment screws on the hinge plate, but it’s best done as a scheduled check rather than a reaction to a door that’s already sticking. Call (833) 522-7502 for an exact quote on a professional adjustment, or if a hinge needs replacement. Estimates are free.
No. Cambria, Silestone, and Caesarstone engineered quartz are non-porous and do not require sealing. What quartz does need is a pH-neutral cleanser and no acidic, bleach-based, or abrasive products, which cause permanent micro-etching and can void warranty coverage. If you’re choosing a surface now, ask about the specific care terms for each brand before you commit.
Because the caulk is absorbing the seasonal movement between a stable quartz countertop and a wall and cabinets that expand and contract with indoor humidity. Enterprise’s hot summers and mild winters keep that cycle running twice a year, and a caulk line that looked fine in winter can open a hairline gap in summer. Inspect the seam before each seasonal change and replace failed caulk rather than patching it.
Look at an exposed edge inside the cabinet. Plywood shows layered plies; particleboard shows a uniform speckled texture of pressed chips. This matters because a slow leak under a plywood box can often dry out with limited damage, while particleboard swells and doesn’t return to shape. If you’re not sure and need a moisture inspection or cabinet repair, call (833) 522-7502 for a free estimate.
Every three to six months. The exact interval depends on how much dust your home sees, but in Enterprise’s high-dust environment, coils that go a full year without cleaning will be coated. Vacuuming the coils with a brush attachment is the routine check; if the refrigerator is running harder or the coils look fuzzy after six months, shorten the interval.
It can, in both directions. Following the manufacturer’s care instructions helps keep your coverage intact. Using the wrong cleaners on quartz, or ignoring hardware adjustments that lead to a failed hinge, can be treated as wear from misuse. Keep your maintenance records, keep the correct cleaning products on hand, and call us if the scope of a repair starts to exceed a simple adjustment.
The Bottom Line
A quality kitchen remodel is a set of materials on different maintenance clocks. Quartz wants a neutral cleaner and no acid. Cabinets want hinges re-calibrated every six months and a quarterly look under the sink. Caulk wants inspection before each seasonal swing. Ventilation and appliances want their coils and filters cleared of desert dust. The work is small, the schedule is steady, and the payoff is a kitchen that holds its finish and keeps its warranty coverage. If a task has grown beyond a tweak, or if you’re planning the remodel that starts the schedule, call (833) 522-7502 for a free estimate.
Written by the team at Kitchen Remodeling Enterprise.
See the difference
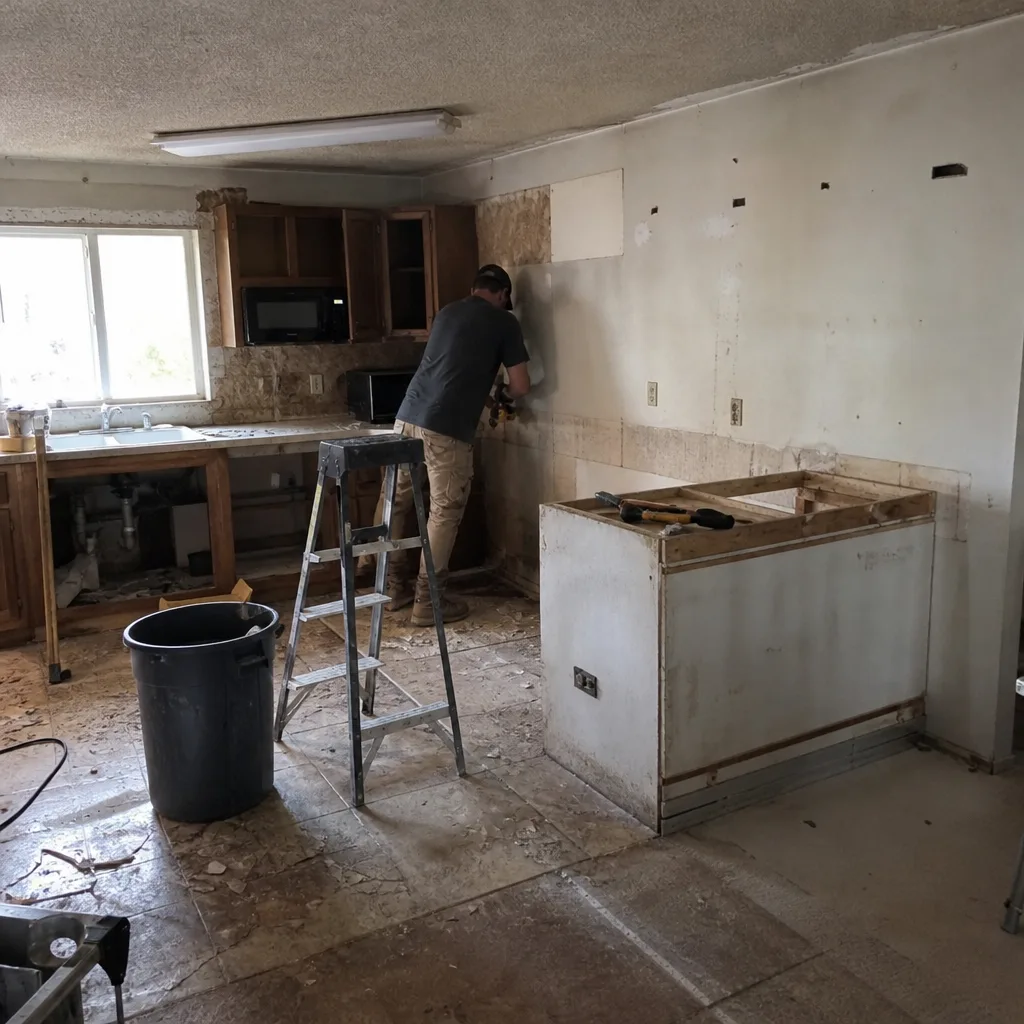 Before
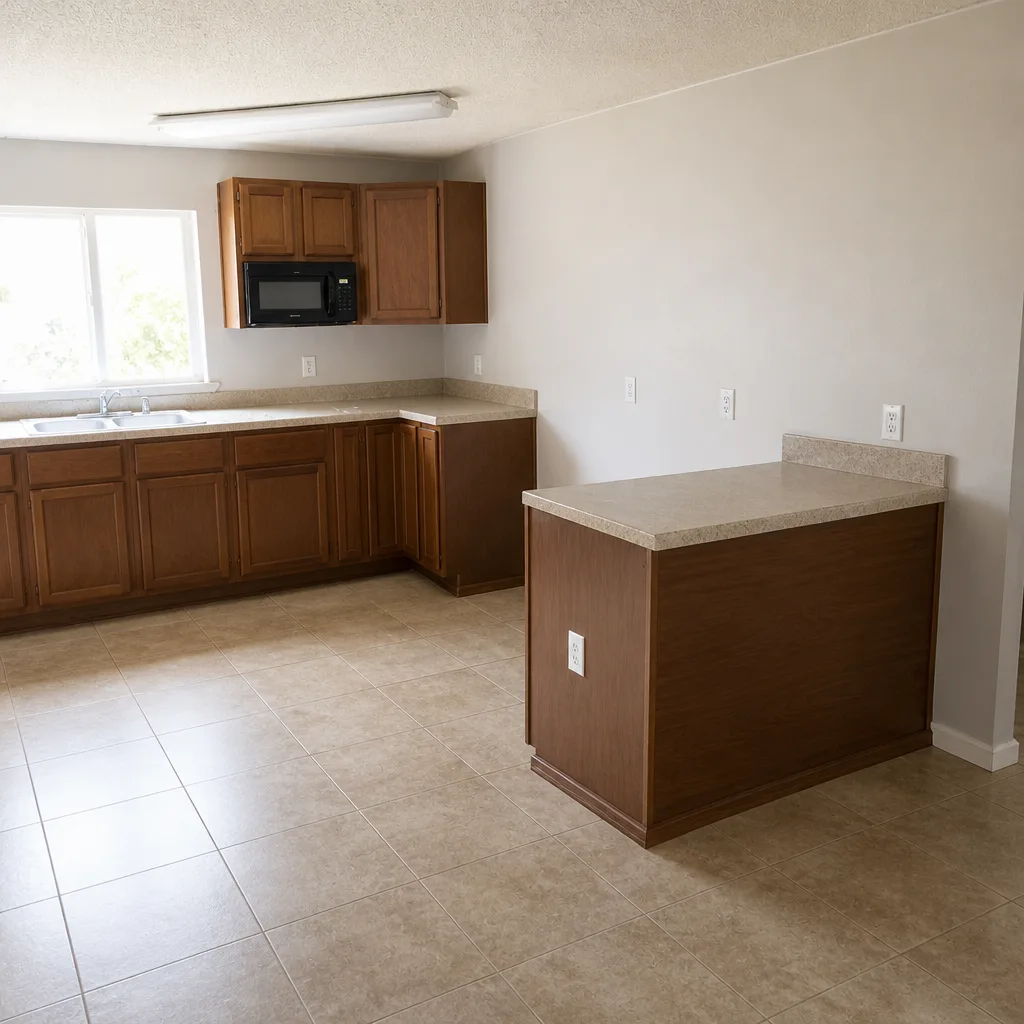 After
 Before
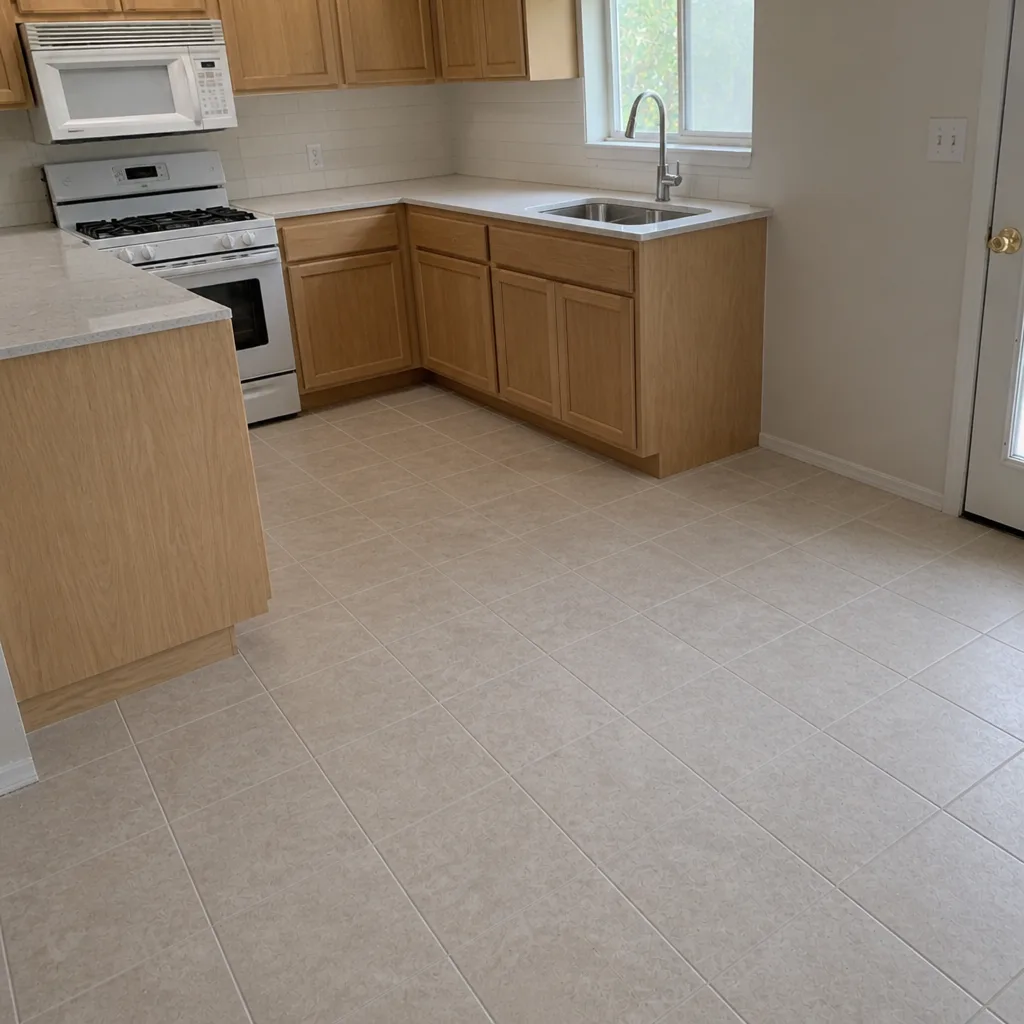 After
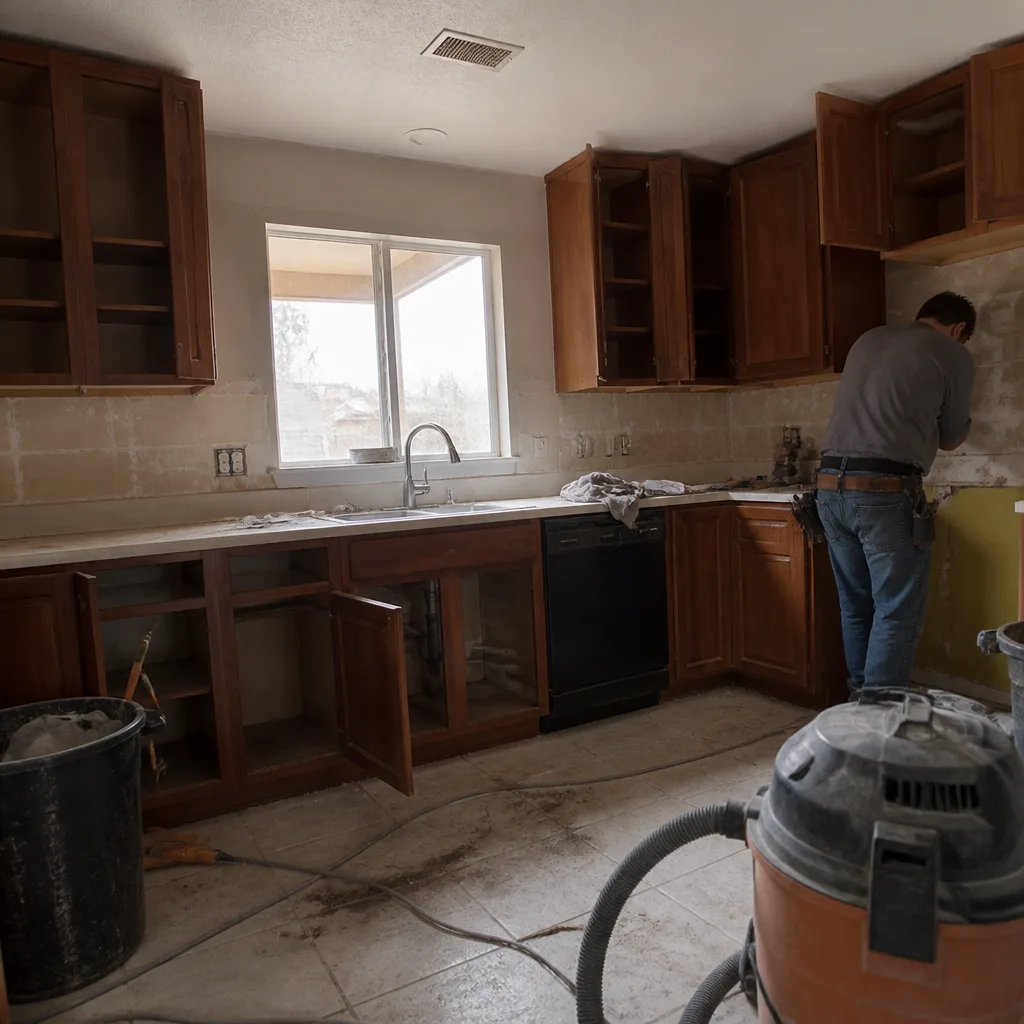 Before
 After